Patterns
Record materials and details
Hooks, yarn, dimensions, and credit where credit is due.
Step 1: Open the details editor
On any pattern, tap Edit Pattern Details. This is the home for everything about the pattern that is not a row.
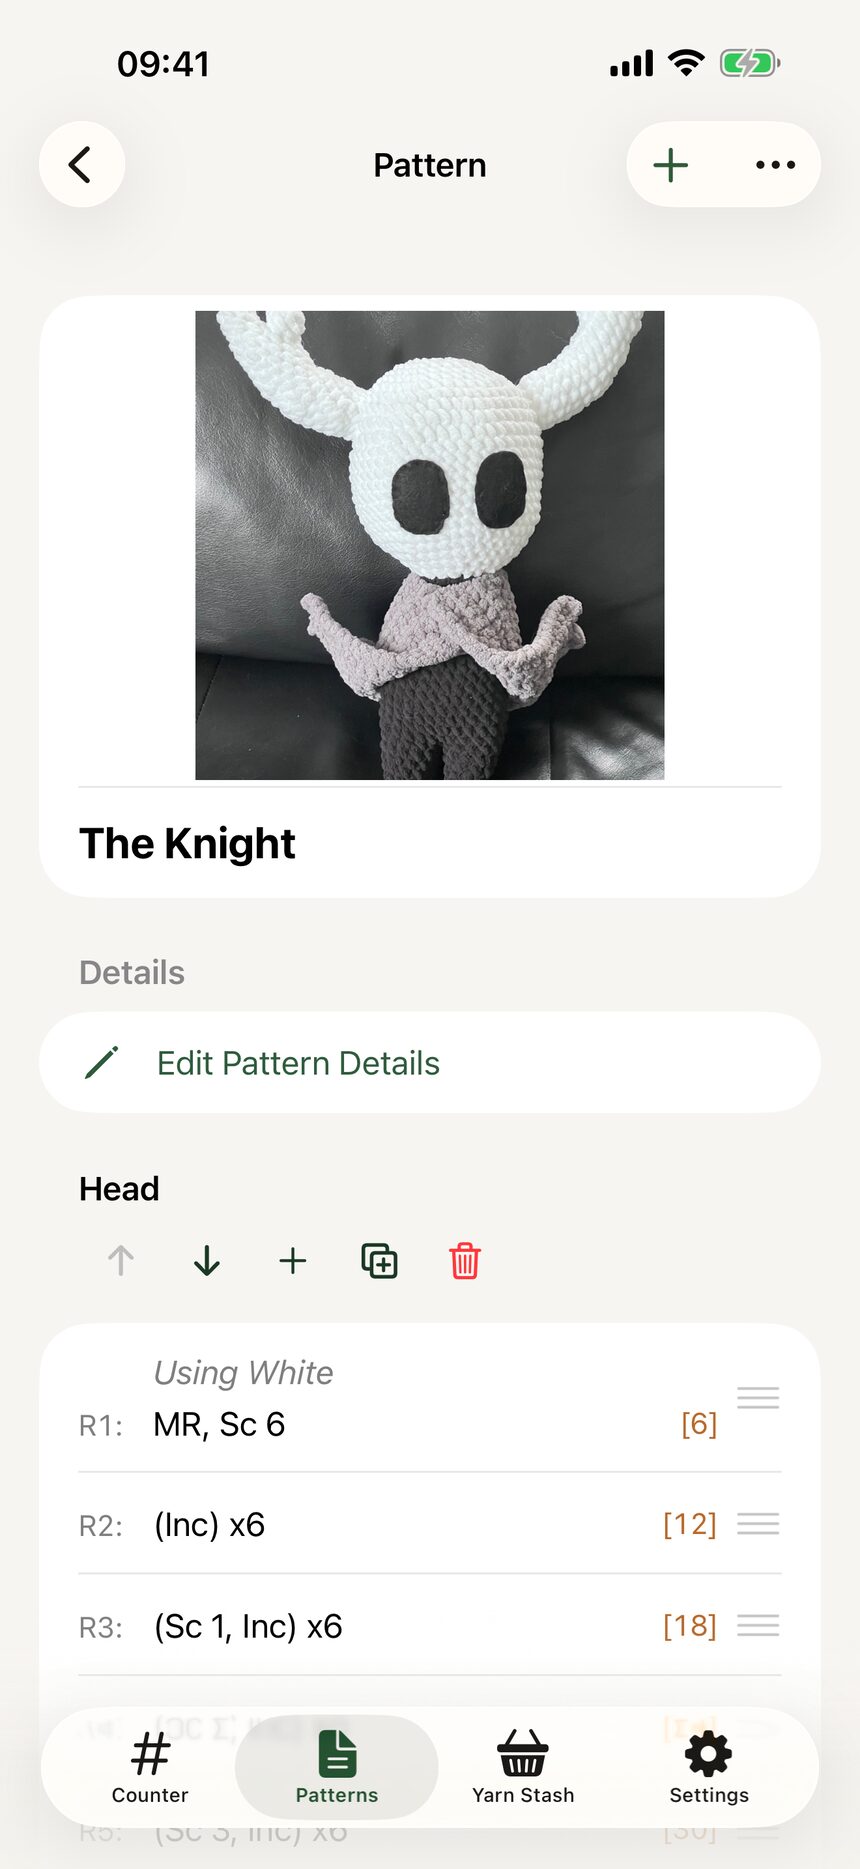
Step 2: List your materials
Record the hook size, safety eyes, stuffing, and anything else the project needs. Future you, standing in a craft store, will be grateful.
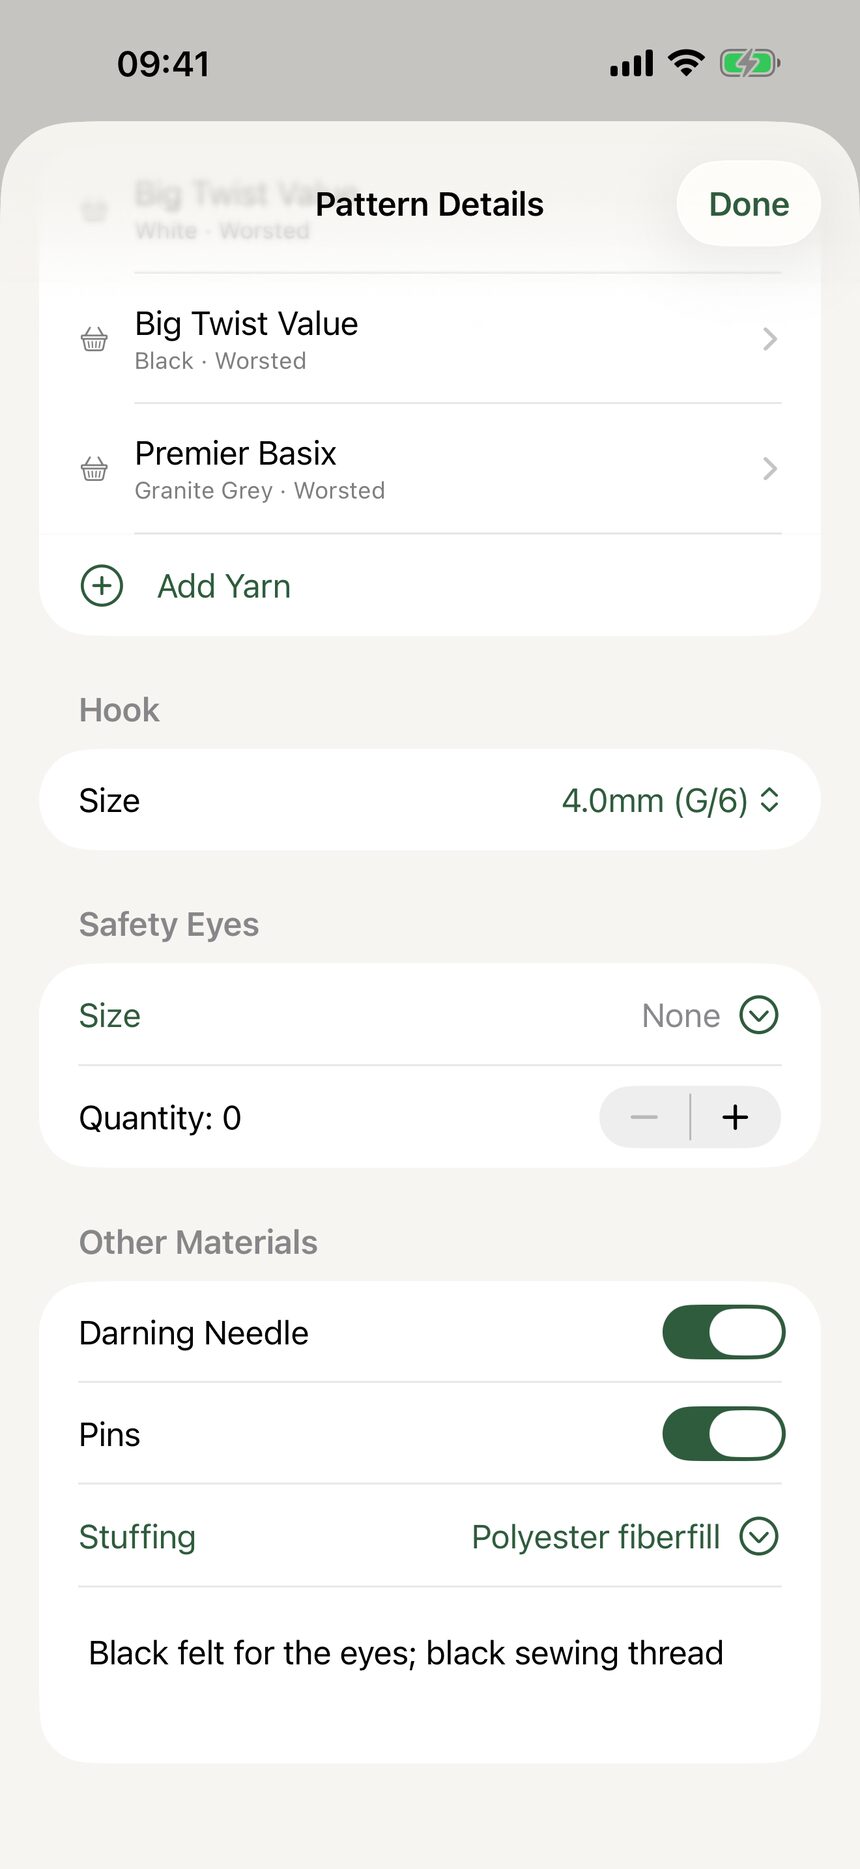
Step 3: Add the yarn
Add yarns straight from your stash with a tap, or enter one by hand if it is not in your stash yet. The pattern remembers exactly which yarn the project calls for.
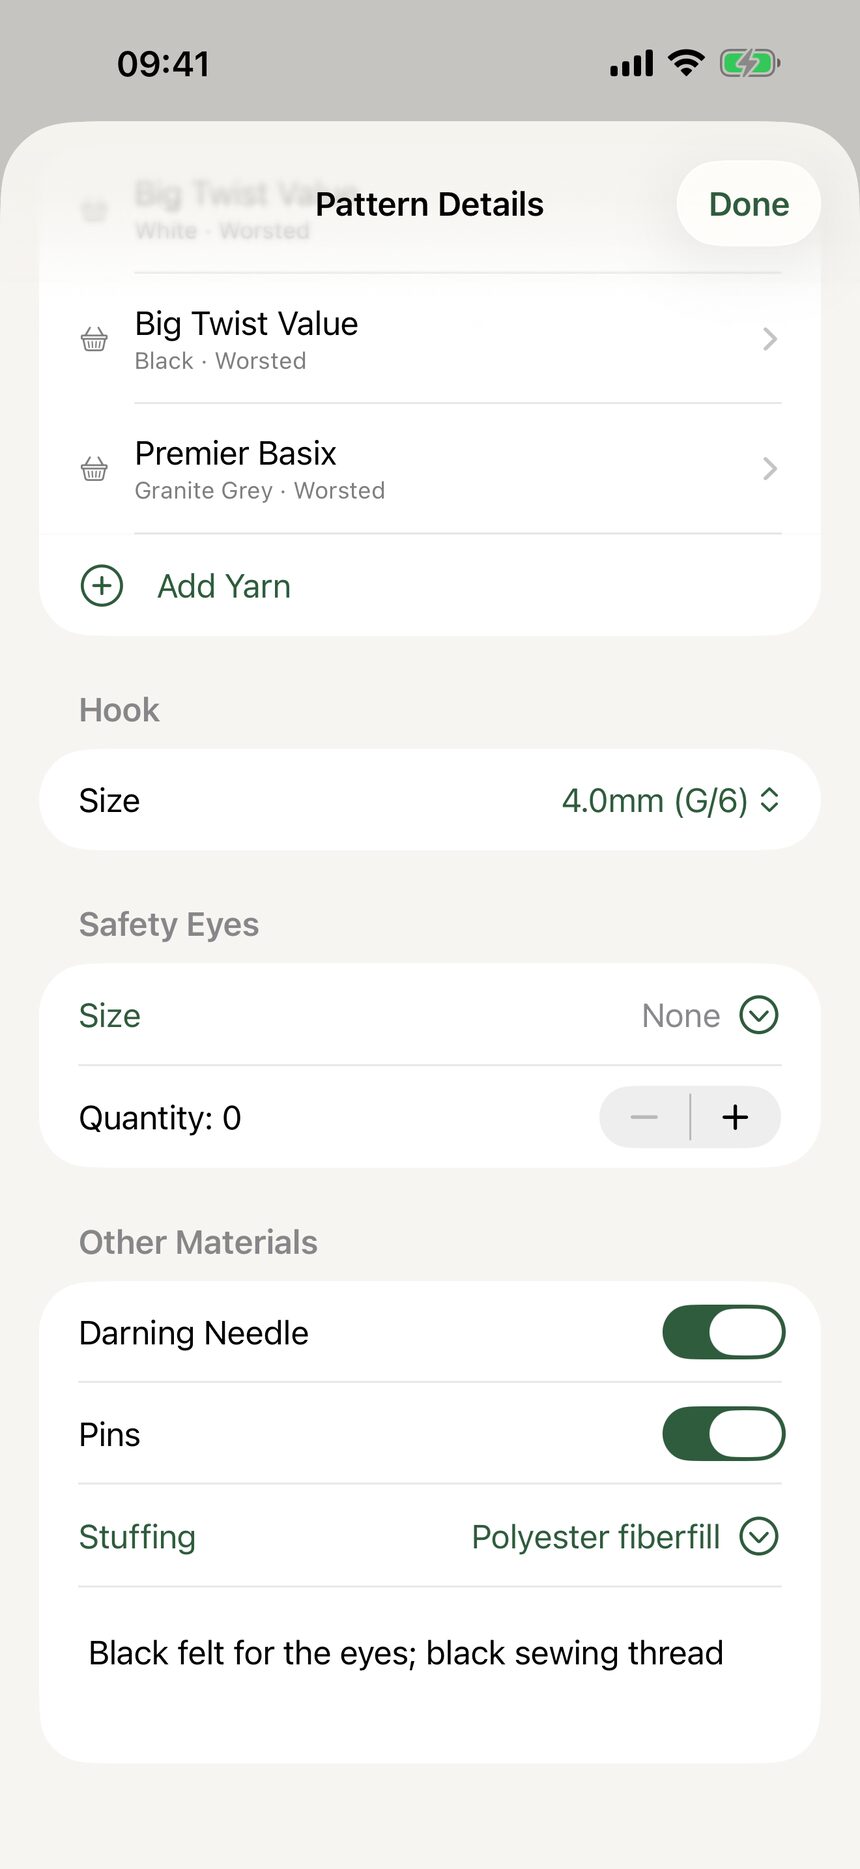
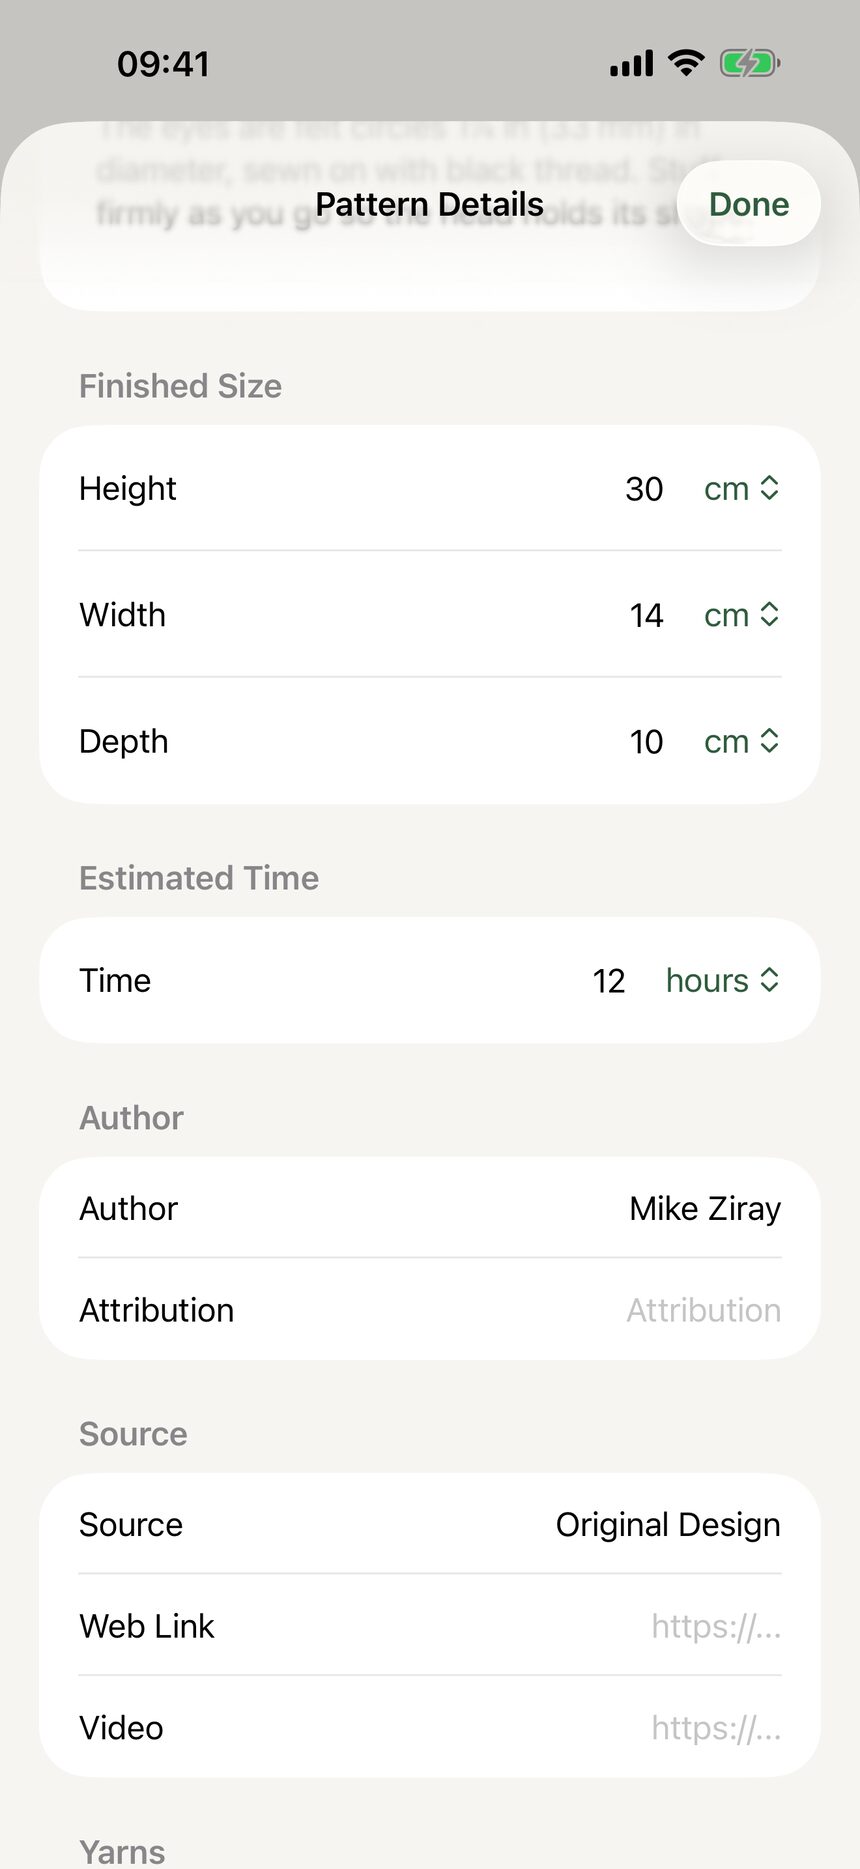
Step 4: Note the size and time
Record the finished dimensions and an estimated time to complete. Handy when someone asks for one in a different size, or asks how long it will take.
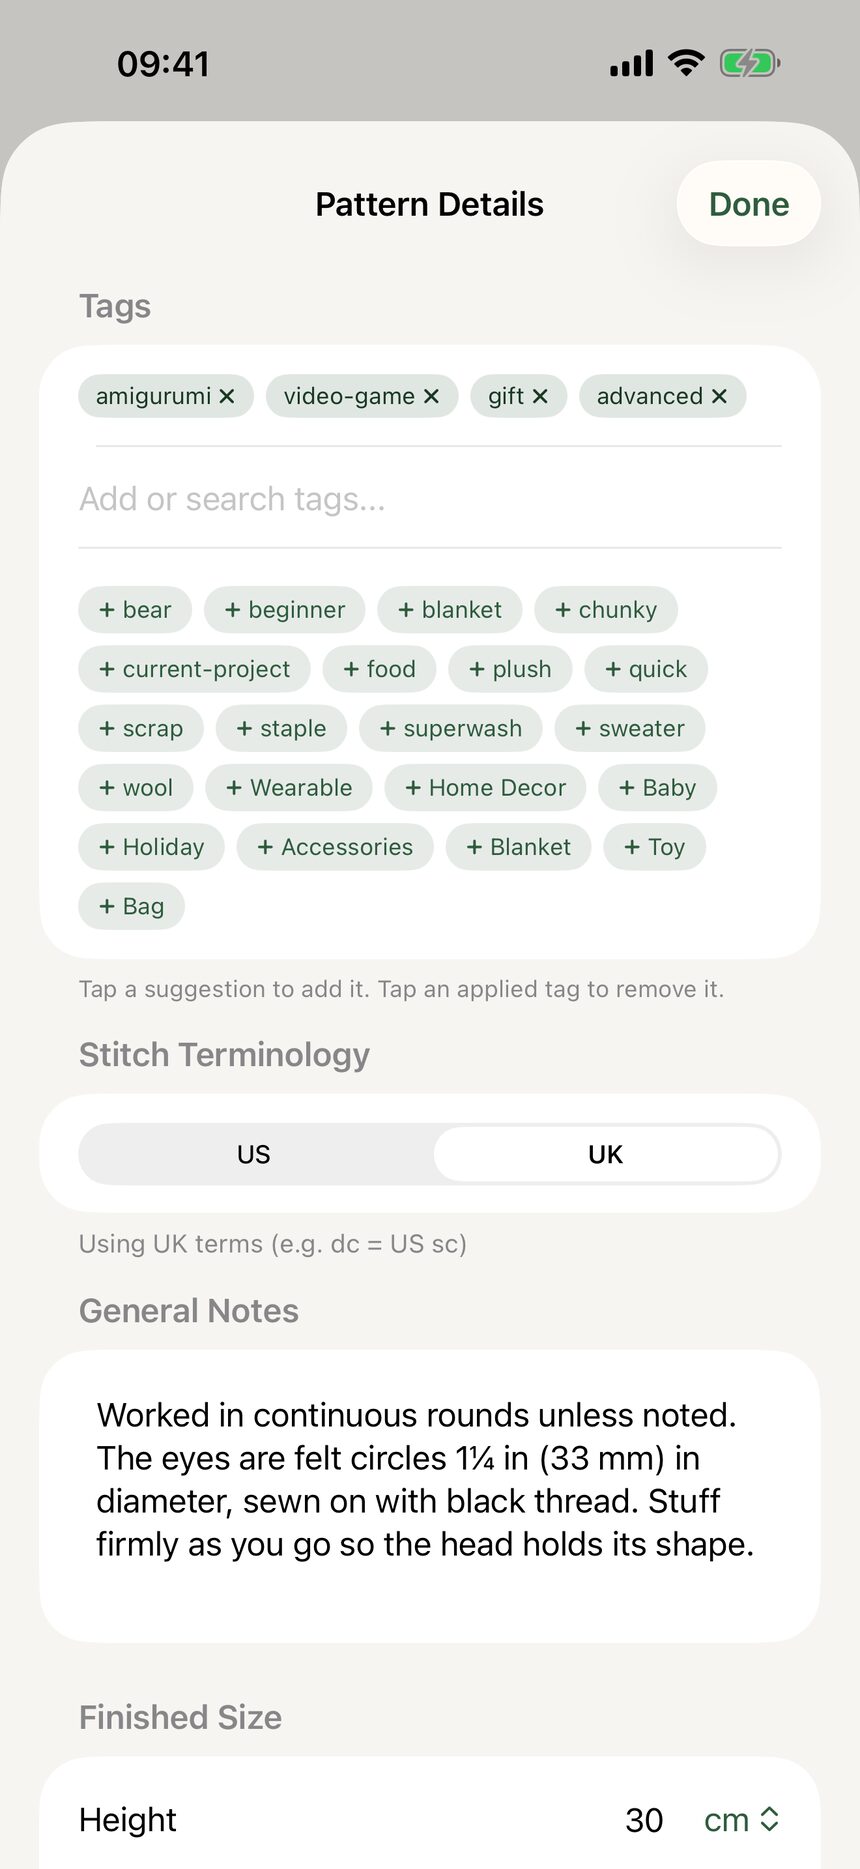
Step 5: Credit the designer
Add the author, a link to the source, and a video link if you follow along on screen. Good patterns deserve credit, and the links keep everything one tap away.
More about patterns
- Create your first patternFrom an empty library to a named pattern in three taps.
- Write a pattern row by rowStitch rows, repeats, section headers, row spans, and notes: the whole pattern editor.
- Switch between US and UK termsOne toggle converts a whole pattern between US and UK stitch names.
- Organize your pattern libraryGrid or list, tags, search, and an archive for finished favorites.
Still have a question?
The FAQ covers the common ones, and the contact form reaches a real person. Either way, you will not be left guessing.
Visit support